If a PC is being used on a different IP range to the PC then add the IP range of the camera to the PC using the below steps.
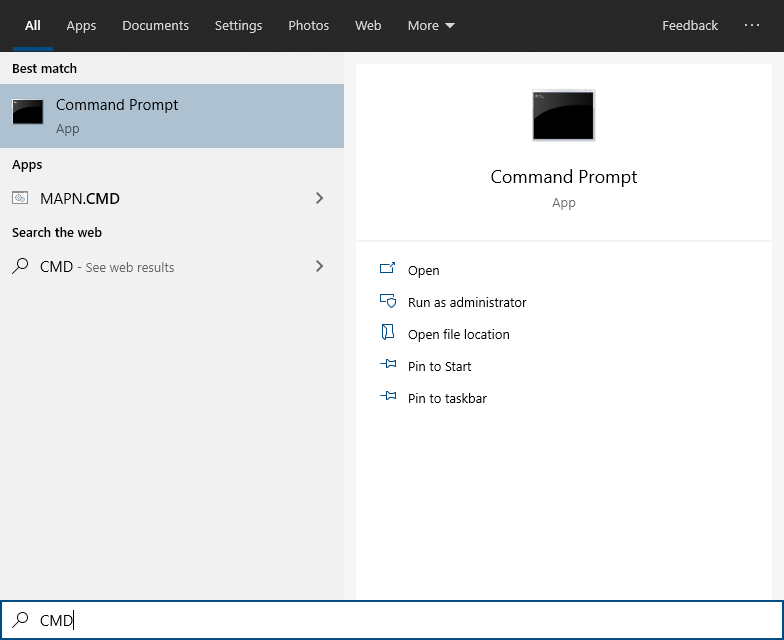
1. Search in Windows “CMD” and select enter |
|
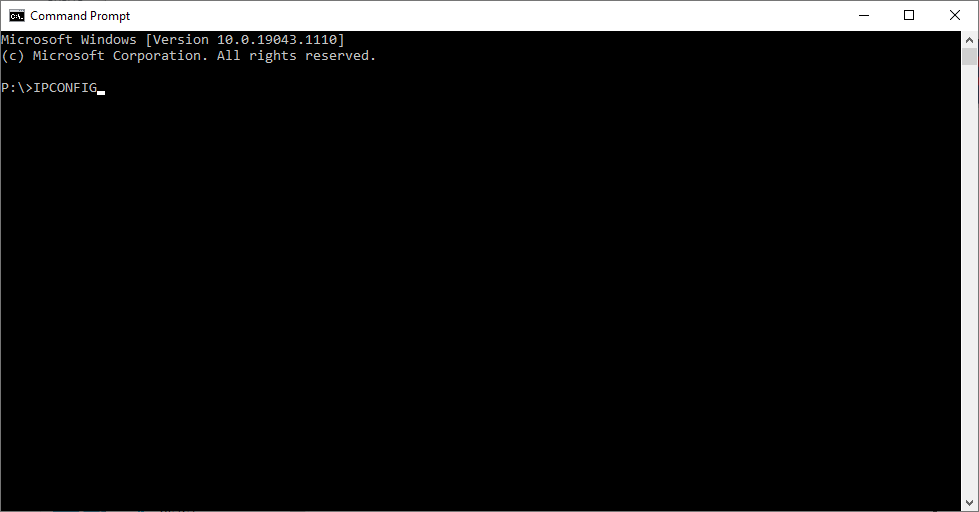
2. Type “ipconfig” and then click enter |
|
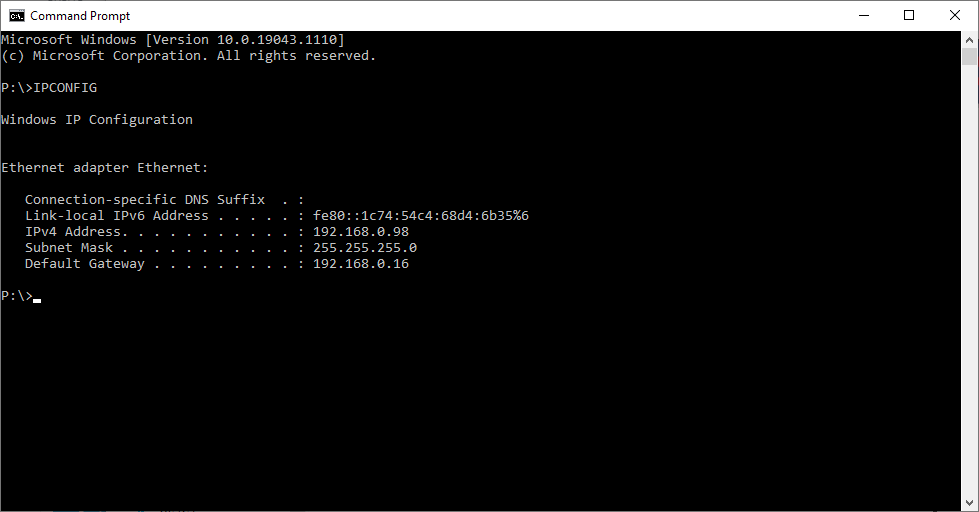
3. Make a note of your IPV4 Address & Default Gateway |
|
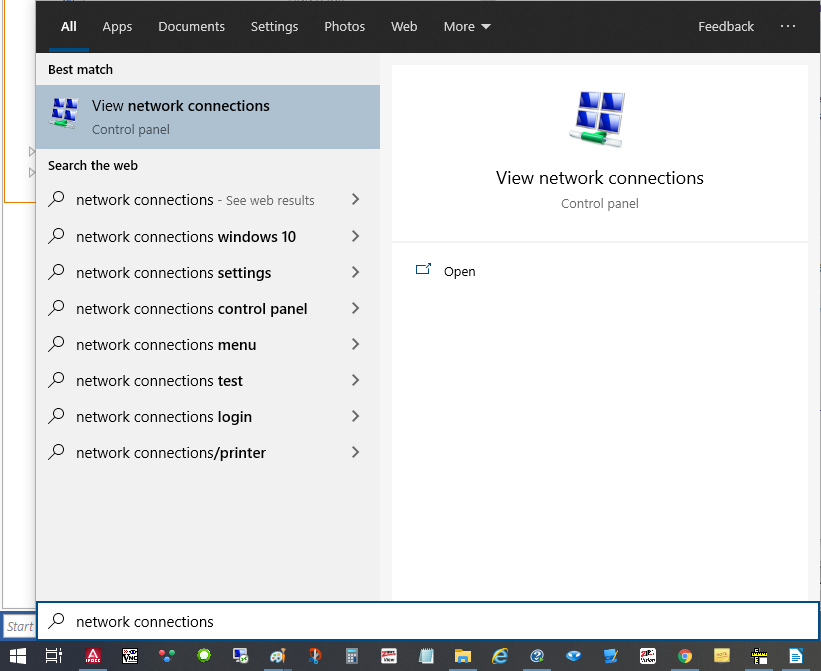
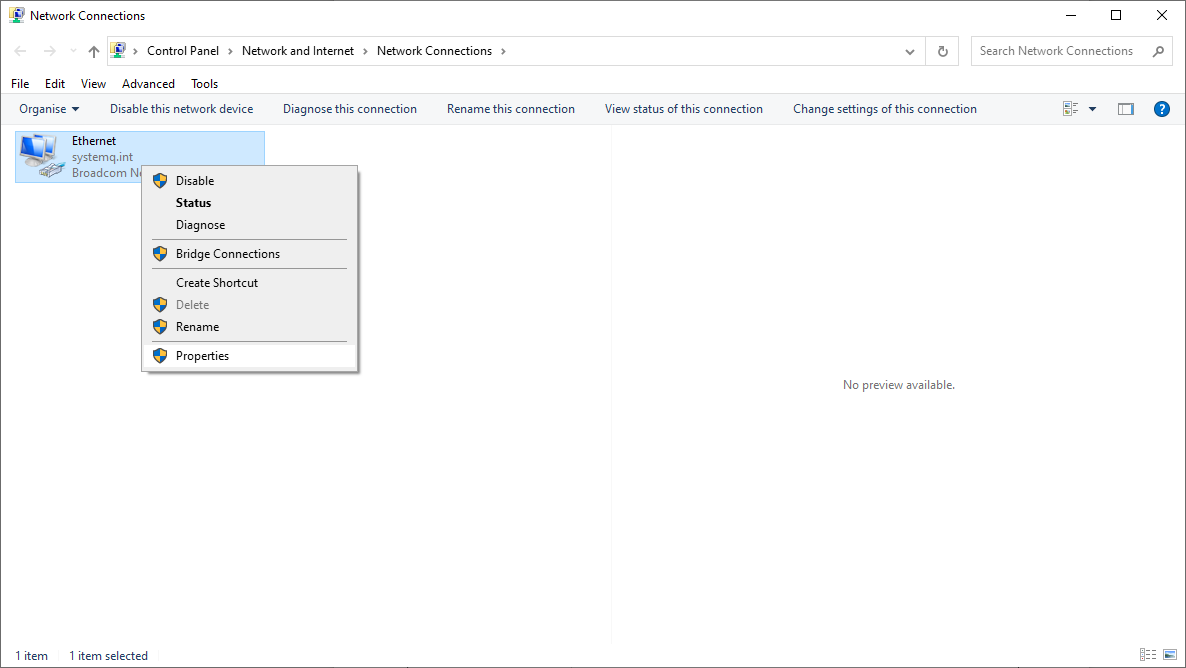
4. Search in Windows “Network Connections” and select enter |
|
5. Right-click the network adaptor, and select properties (For wired connections Ethernet for Wireless select Wi-Fi network) |
|
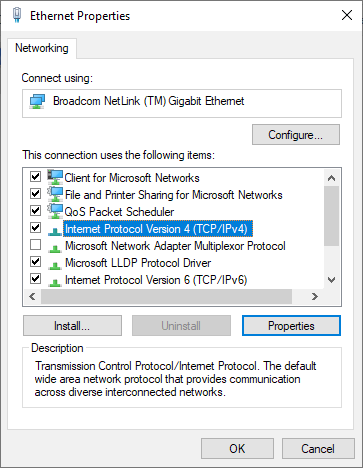
6. Select “Internet Protocol Version 4 (TCP/IPv4)” and select Properties |
|
7. Select Use the following IP address:
Then enter the IPV4 address and default gateway you made a note of in step 3.
Then select Advanced |
|
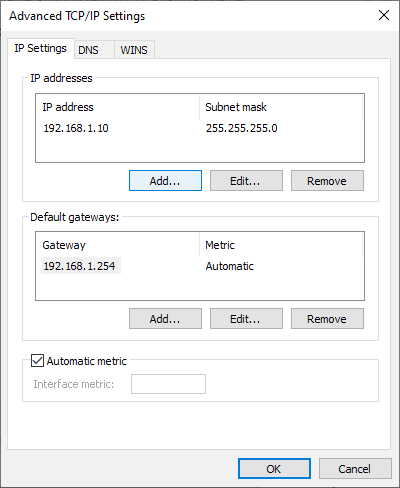
8. Select Add |
|
9. Enter the IP – 192.168.1.X (where X = the last segment of the IPV4 Address)
Then select Add |
|
10. Select Ok to close, and then Ok to close. |
|