POE399 - Quick Start Guide
|
LCD400K Full Manual
www.systemq.com/PDF/manual/xLCD400K.pdf
|
LCD390 Full Manual
www.systemq.com/PDF/manual/xLCD390.pdf
|
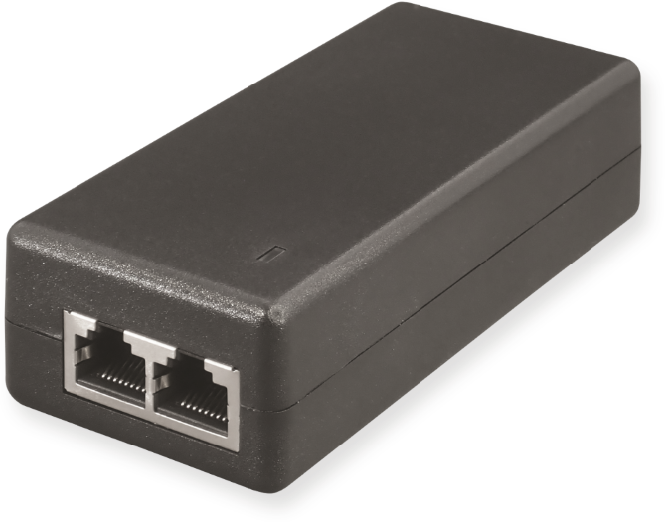


Replacement PoE Injector for charging the CCTVmate test monitors (LCD390 & LCD400K).
Ideal replacement for the original PoE injector supplied with the test monitor if it has been lost or it has failed.
User Information
•The PoE injector must be used in a clean, dry environment where it will not be exposed to high temperatures, moisture or excessive dust.
•Do not touch the PoE injector or any of its connections with wet hands.
•Ensure the power is switched off if the PoE injector if not in use for a long period of time.
•There are no user serviceable parts in the PoE injector and opening or attempting to repair the product will void the warranty.
•Do not use the device if the power cable is damaged.
Charging Using the POE399
To recharge the battery you will need to connect the power supply lead, PoE injector and network lead supplied with the test monitor as described below.
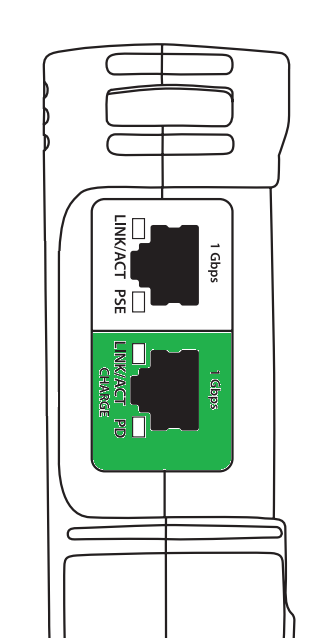
1. Connect the power supply lead to the PoE injector. 2. Connect one end of the network lead to ‘Data + PoE output’ RJ45 socket on the PoE injector 3. Connect the other end of the network lead to the green RJ45 socket labelled ‘Charge’ on the side of the test monitor. 4. Plug the power supply lead into a wall socket and turn the socket on. 5. The orange light on the RJ45 socket and the red battery light on the front of the device will light up when charging. |
|
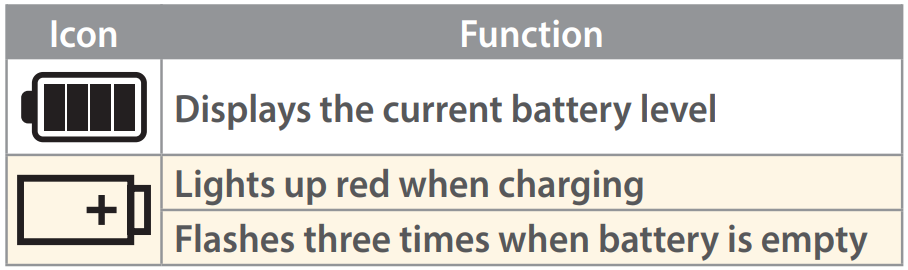
Monitor Battery Indicators
LED Status Indicators
LED |
Condition |
Status |
Power |
|
The injector is receiving power |
|
The injector is not receiving power / short on cable |
Troubleshooting
Problem |
Possible Cause |
Solution |
No Power light |
No power to the device |
Check power to device from external source. Check that the power lead (IEC lead) is plugged in to the PSU and the PSU is plugged into the switch. |
Loose connection |
Check that the power lead (IEC lead) is plugged in to the PSU and the PSU is plugged into the switch. |
|
Connected devices not powering |
Poor quality cable or termination |
Check the Ethernet cabling to your device is of good quality and is terminated correctly |
Total power consumption exceeded |
Check the load devices are not above the total power consumption of the switch. |
|
Cable length |
Check the distance of Ethernet cable to your device. Ethernet cables have a 100m maximum length. |
|
Slow flashing LEDs, No network on load devices |
Faulty cable or device |
Turn the power off to the switch & unplug the load devices (Check Ethernet cabling to load devices). Leave the switch turned off for 10 seconds and then power the switch back up, plug each device back into switch individually to help troubleshoot the suspect cable. |
Specifications
|
POE399 |
Input Connection |
RJ45 Socket |
Output |
15.4W (48V DC / 320mA) |
Output Connection |
RJ45 Socket |
Compatibility |
LCD390 / LCD400K |
Bandwidth |
10 / 100 / 1000Mbps |
PoE Standard |
802.3 af |
Power |
100 ~ 240V AC (50/60Hz) |
Power Connection |
IEC C8 Socket |
PSU |
Lead Supplied |